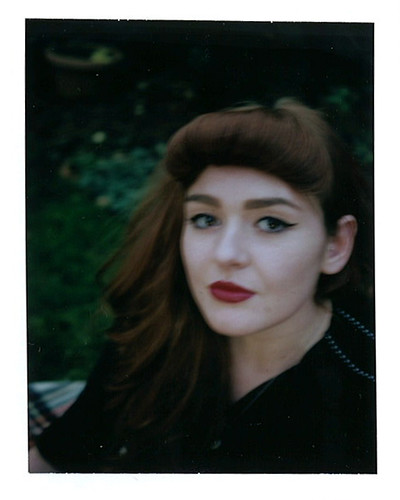
Bettie Page, a photo by Black Eyed Jack on Flickr.
Thursday, 26 January 2012
Friday, 20 January 2012
Vampire Prosthetics
What you need,
One Vampire prosthetic: http://www.shopofhorrors.co.uk/pages/prosthetics_12017.cfm
Prosthetic Application Kit: http://www.nimbacreations.com/
Sealing powder: http://www.gruesomelane.com/
Ben Bye Death Wheel: http://www.shopofhorrors.co.uk/pages/prosthetics_12017.cfm
Fangs courtesy of Scarecrow (Custom fit)
Sponges
Paintbrush
Get yourself some good lighting and patience as applying this may take some time.
· Apply some prosthetic adhesive glue from your application kit, to the nose section of the prosthetic and apply to face. I used a small paintbrush for this, adding glue gradually around the eyes, eyebrows and forehead. Leave the edges of the prosthetic last to get an even and smooth fit, take your time with this.
Once the glue has dried apply some sealing powder with a sponge, to the areas that may still be sticky from the glue. Double check everything is glued in place, adding powder as you go along to get a smooth blend.
· In order for the prosthetic to look real, apply blending liquid from your application kit to the edges of the prosthetic to help fade it into your face. Use a sponge or a paintbrush. Add sealing powder as you go along. Apply as many layers of this until you feel comfortable that the prosthetic is really blended in.
· Next comes to grease paint makeup. I chose the Ben Nye Death Wheel as it had flesh colours as well as darker tones. Get a variety of different shaped sponges as this will help to add depth to the skin tone of the prosthetic.Start with lighter tones, dabbing the sponge onto the prosthetic,adding darker tones as you go along to help blend to your skin tone. I applied around five layers of paint. Finishing with the lighter shade I used at the beginning. Set the colour with the sealing powder.
· As it was Halloween when I applied this, I wanted to be a deathly pale colour so I applied accents of white makeup around my face. Be aware that face paint other then grease paint may damage the prosthetic. I darkened the area around my eyes purely to help blend the prosthetic in, plus it made me look more gruesome.
- Once you have custom fitted your fangs, you are ready for a frightful night.
Subscribe to:
Posts (Atom)


